Pages
In the Beckman Web Template, you'll need to set up some pages for your site. By default, the home page is created for you, but all other pages will need to be added.
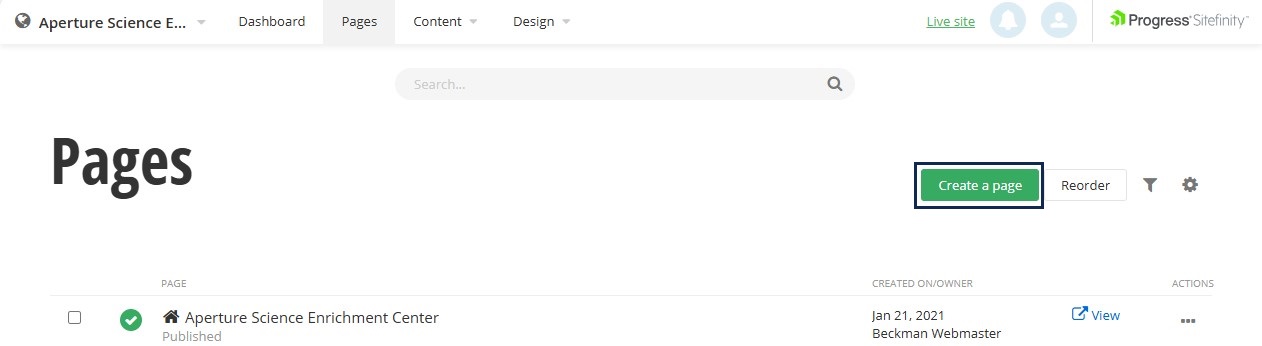
To add or manage pages you'll need to first go the pages management area. To do this in the navigation bar select the menu item label "Pages". This will load a new screen for managing pages.
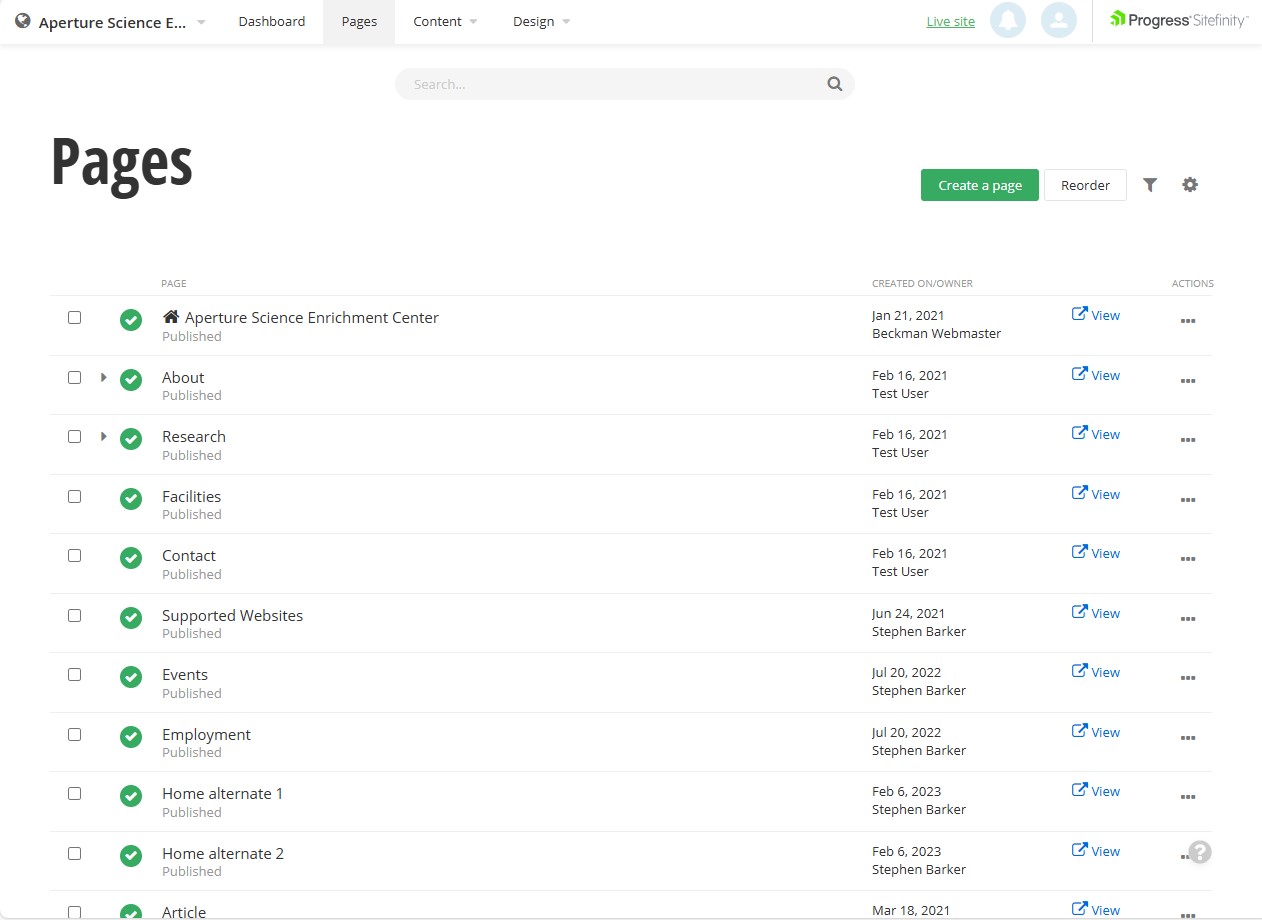
On this screen there are many options for updating, moving, or adding pages to your site. There are a few types of pages you can create in the Beckman Web Template.
- Standard page: This is a page that will include widgets to display content for the user to see.
- Group page: This page has no other purpose than to group items together, but itself has no content.
- Redirect page: This page will allow you to send the user to another page in you site or to an external site, but the page itself has no content.
When you create a new page, you will be prompted for which kind of page you would like to create.
Page properties
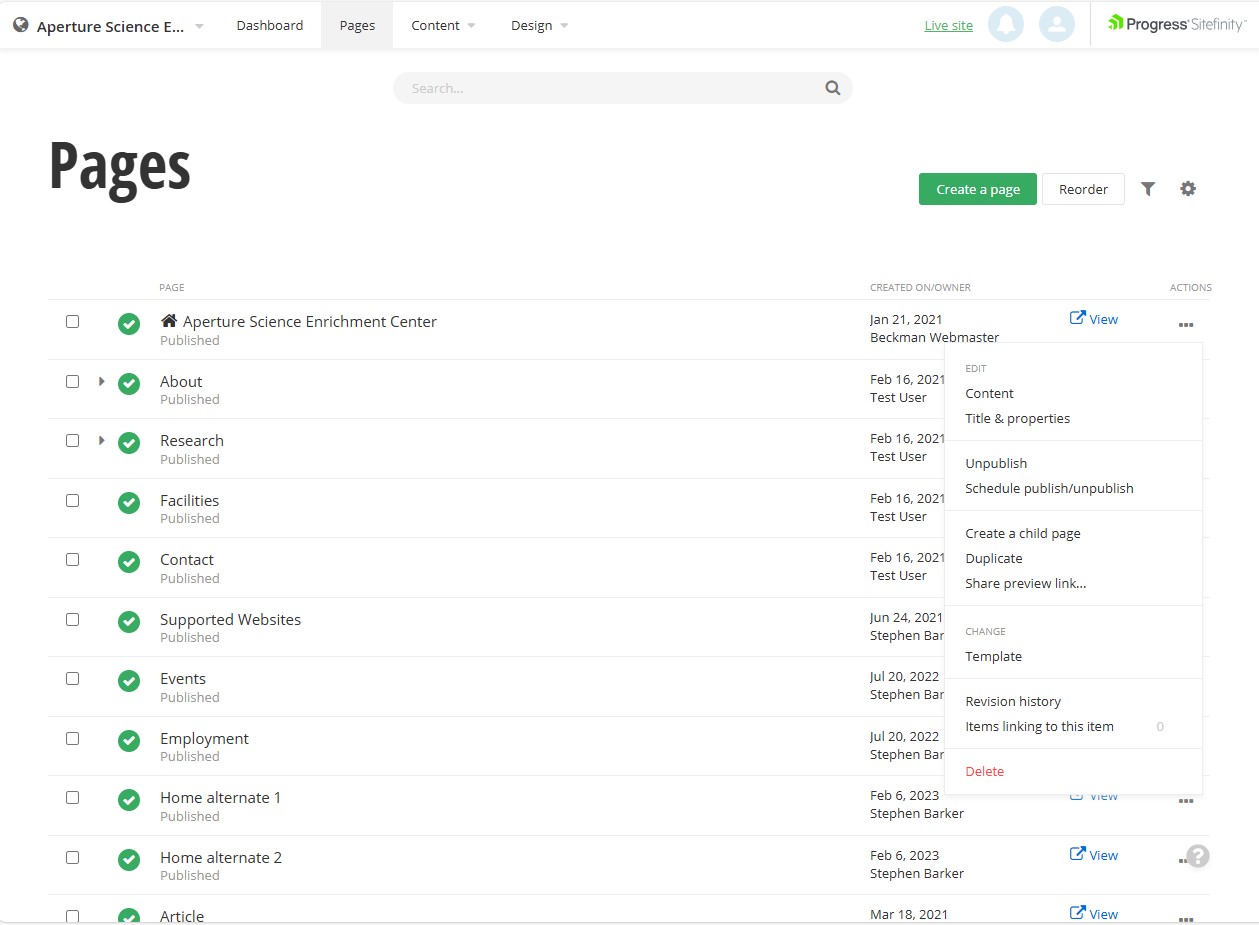
Existing page properties can be changed as needed by using the contextual menu on the far right of each row for a single page. This menu can be open using the three horizontal dots. This menu allows you to modify some of the items mentioned it other parts of this tutorial to change the page name, search options, and navigation options.
Reordering pages for navigation
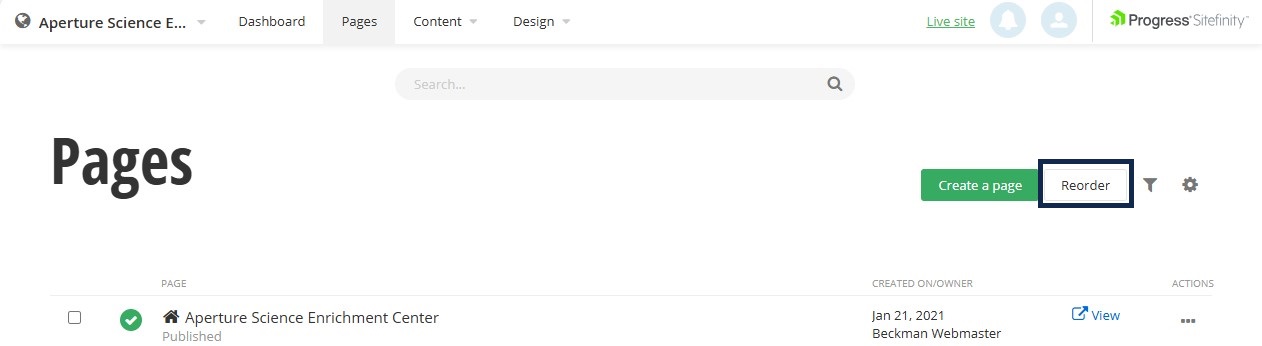
The order of pages in the navigation is determined by the page order as listed in the backend. To change the order use the "Reorder" button at the top right of the page above the list of pages.
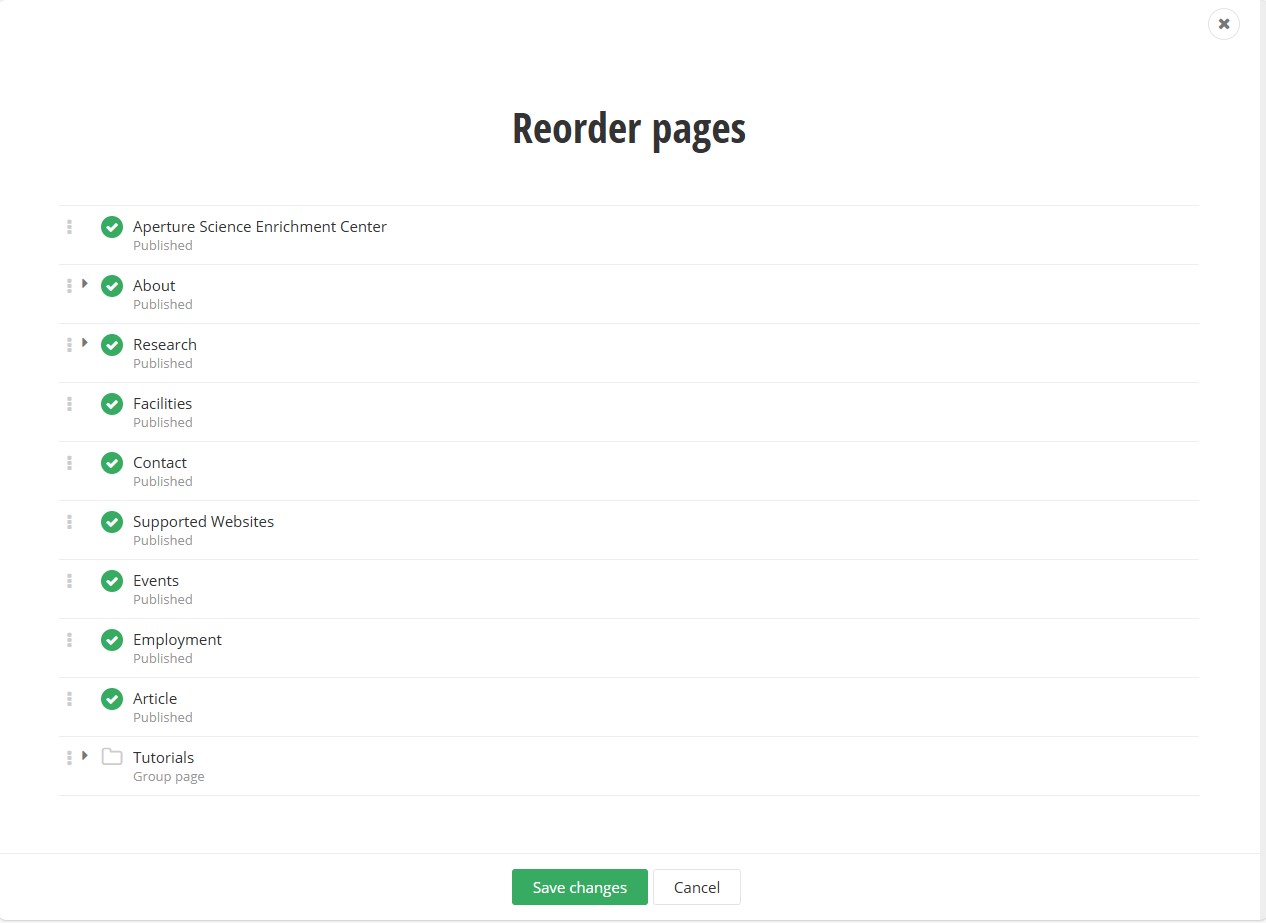
Upon using this button, a new dialog will open and the pages can be dragged around to change the order of the pages or to group pages together.
Create a new page
To add a page to your site, in the pages admin screen, select the button in the top right above the list of pages labeled "Create a page".
 After activating this button, a window will popup with the new page's property settings. Using these settings, you can set the name of the page, set visibility of the page in navigation, allow for the page to be searched, show the page in the eyebrow or footer areas.
Naming your page
When naming your page there are a couple of items to consider.
- Consider the page's location and how many pages you will have in your site.
- If this is a top-level page (parent page) then it will show in the navigation bar. The navigation bar has room for about 10 words in total before wrapping text to attempt to fit in the navigation menu. At the top-level it's best to use as short as wording as you are able 1 or 2 words should be the goal.
- If the page is a sub-page (child page), under a top-level page, then the length of the name does not matter in terms of the navigation, but please use wording that can be understood by all for accessibility.
- The Illinois brand does provide many examples to standardize certain terminology in navigation. It is highly encouraged to try to match this terminology when it applies. For details you can see the Navigation and Terminology section on the Illinois brand site.
Show page in eyebrow or footer
You can decide now or later to include your page in either the eyebrow menu, a small set of links above the search area, or in the footer.
To include your page in the eyebrow you'll need to take two steps.
- Consider the length of the name of your page. For the eyebrow menu there is only space for 3 or 4 words. Due to this limitation there is a spot to provide a short name of 1 or 2 words for the link in the eyebrow menu. It's not required to add this name unless your page has a name longer than 1 or 2 words.
- Check the checkbox labeled "ShowInEyebrow".
To include your page in the footer no other items are needed other than to check the checkbox "ShowInFooter".

Change page search settings
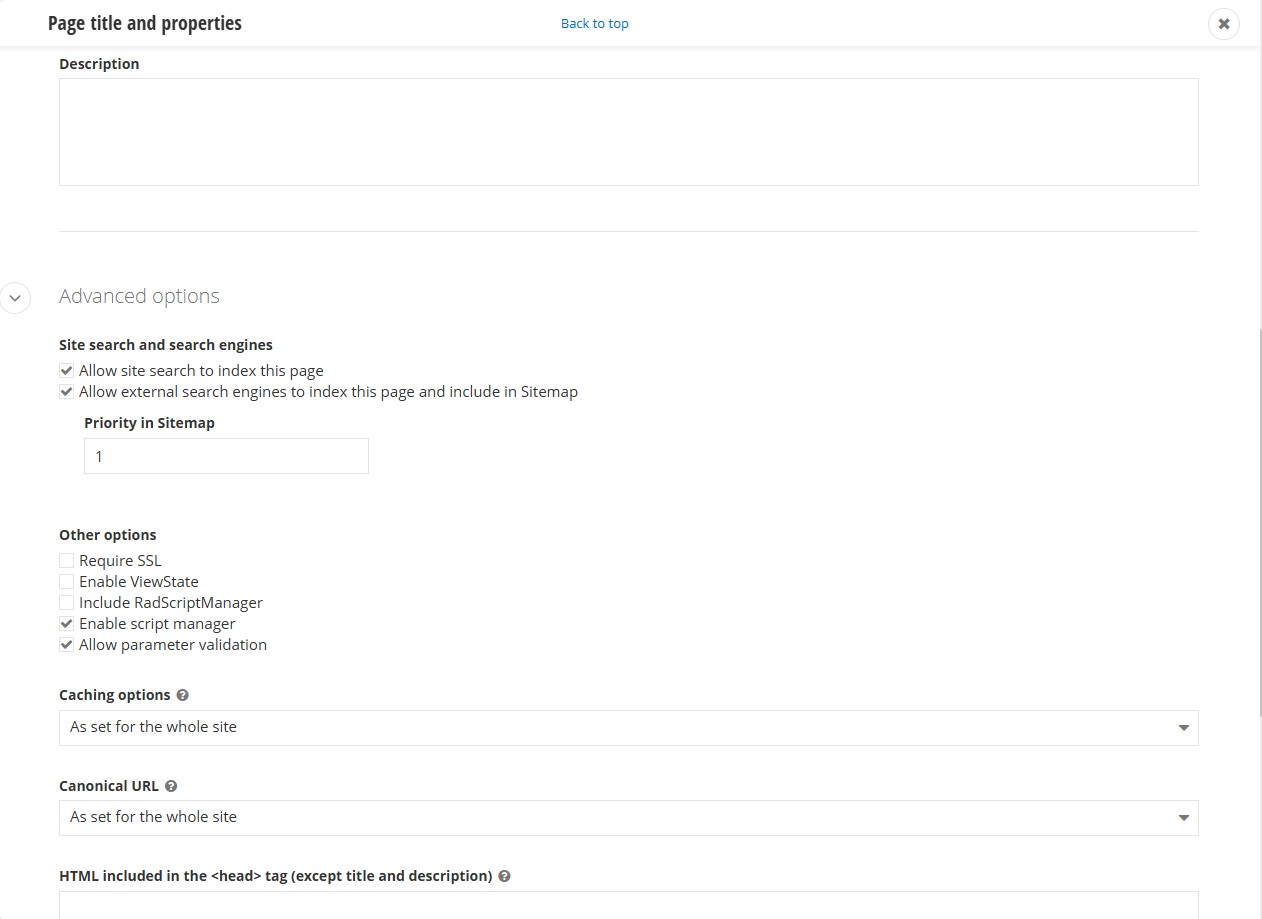
Pages by default are included in searches of both internal and external engines. If you wish to change this to remove from one or the other this can be done in the "Advanced options" section of the web page properties. Under the "Site search and search engines" section:
- To remove the page from internal site searches, uncheck the box labeled "Allow site search to index this page".
- To remove the page from external site searches, (Google, Bing, etc.) uncheck the box labeled "Allow external search engines to index this page and include in Sitemap".
Note that removing pages from the search engines will make them harder to locate.
Select page template
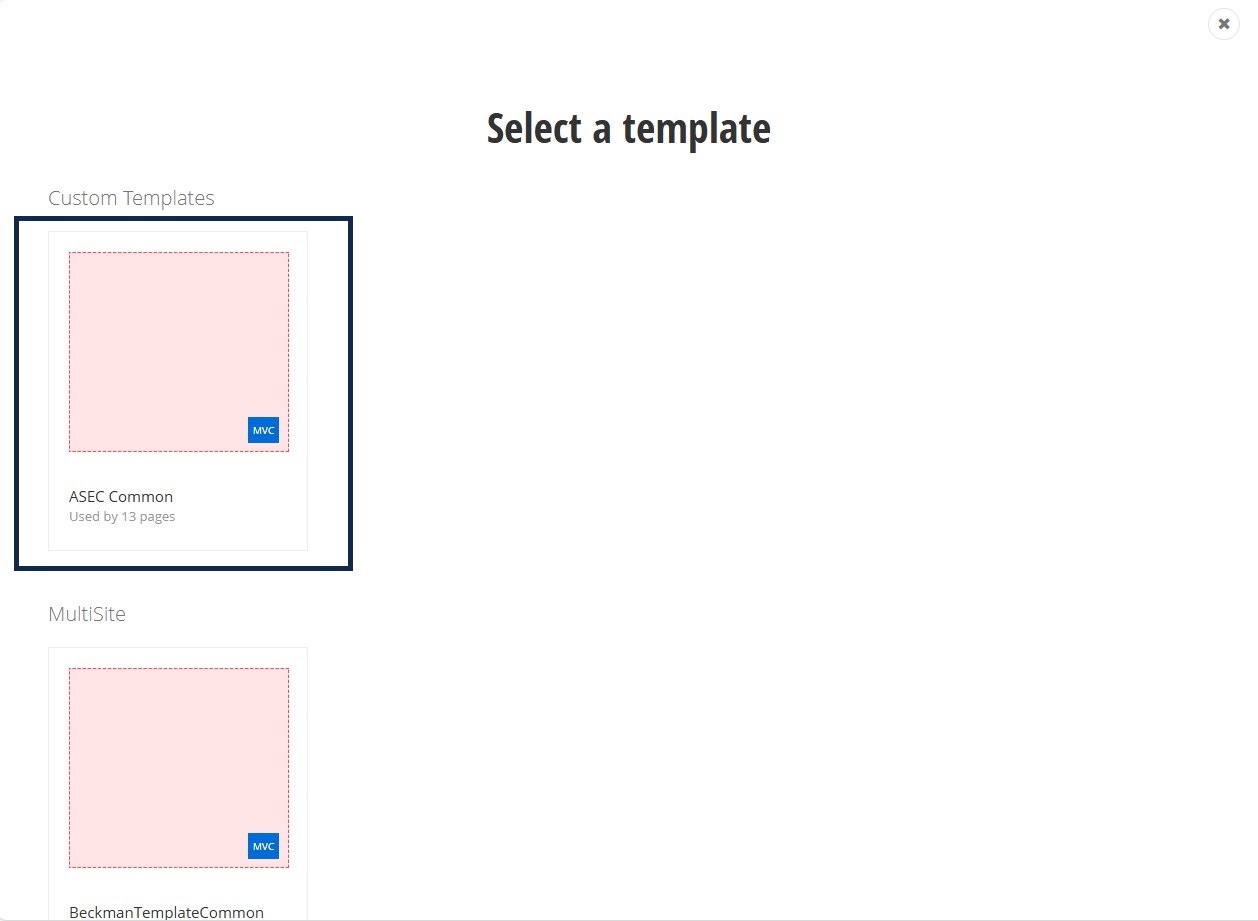
When you are comfortable with all the settings with your page and click the "Save changes" button, the next step is to select the template to use for your page. Please pay careful attention to which template you are selecting. There is one template you should use for your site (if you were on the site prior to 5/31/2025 you may have two templates).
There will be a template with your site name on it and this is the template you should select. Do not use the template named "BeckmanTemplateCommon", this could later cause issues with your site during upgrades.
After clicking the template your page will be created in draft form and the system will put you in the page editor mode.
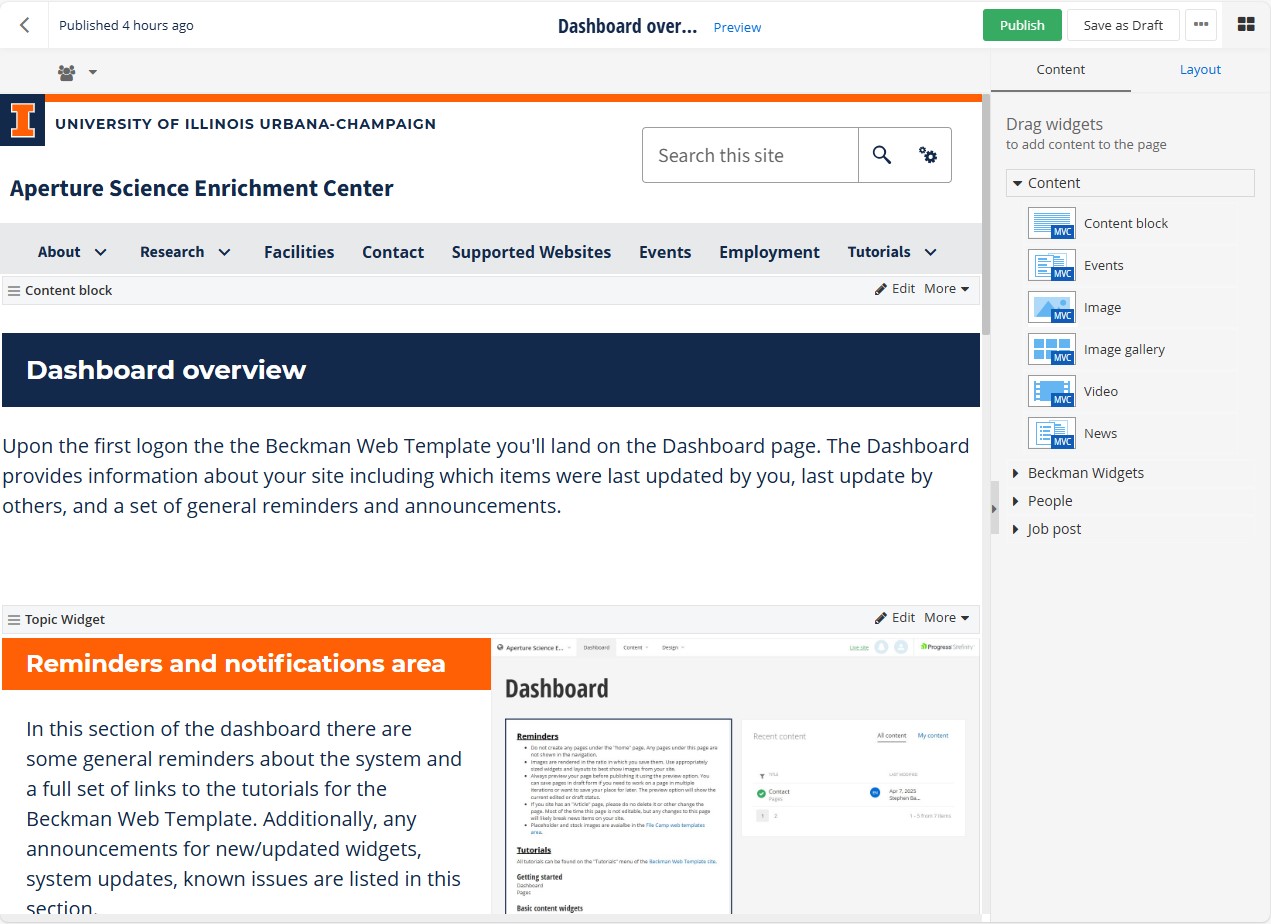
Add widgets to page
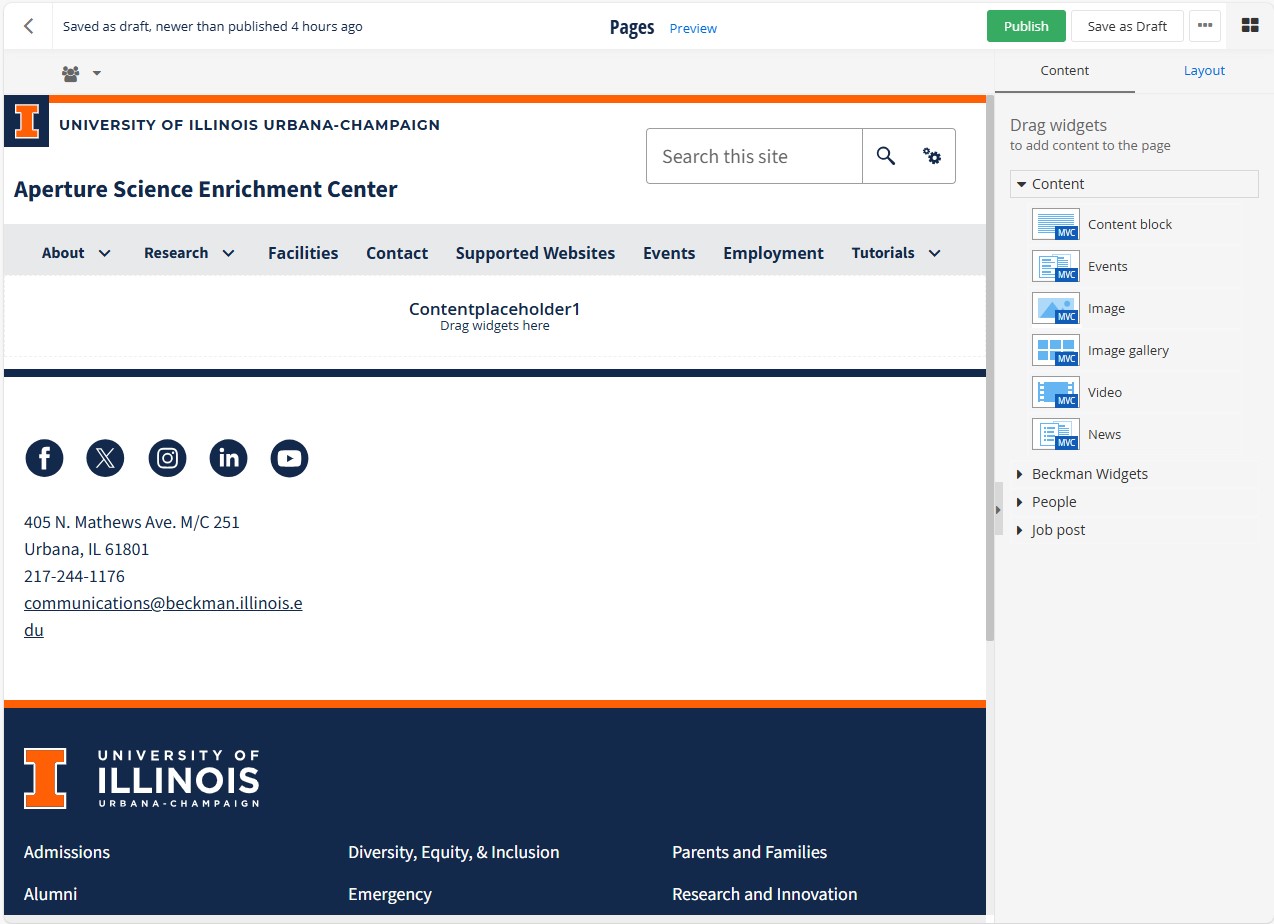
To add content to the page, use the widgets sidebar on the right side of the screen and drag-and-drop on the page. There's only one location you can drag and drop items to in the Beckman Web Template.
Draft and publish options
After updating your page with the content, you choose you'll need to decide what you would like to do. In the Beckman Web Template you can either save your page as draft or publish your page using the "Save as Draft" or "Publish" buttons at the top of the page edit page.
- Save page as draft: This will allow you to continue to update your page or allow others to review your changes that have access to the backend of the Beckman Web Template. This option prevents your changes to the page from being visible to the world.
- Publish page: When a page is published all changes are made live to the website and are visible to users.
Beckman Web Template